After Edgehill, Prince Rupert swept down the Thames Valley with the aim of taking the capital – the prospect of which caused a “great stir“ among the Londoners who were making hasty efforts to fortify the city's edge. Rupert's advance was halted by his failure to take Windsor, and the King courted the idea of negotiating a peace before the winter brought his campaign to a halt. This lull also allowed Essex to steal the march on Charles and reach London well ahead of the Royalist advance. Possibly seeking nothing more than a temporary lull in the fighting to reform and re-equip their forces, both houses of Parliament rode out to meet with their King at Colnbrook on 11 November allegedly to entreat for peace. Little came of these talks.
Charles ordered his force to march on London. But, Essex had left troops at strategic locations on the westward approach to London. Two regiments of Parliamentary foot held fortified positions at the village of Brentford – a strategic river crossing. Charles ordered Prince Rupert to take Brentford and a brigade of three royalist regiments were resupplied with ball, powder and match and ordered to attack. Rupert's cavalry and dragoons advanced to the outskirts of the village under cover of a thick early morning mist on the 12 November. The initial Royalist attack was repulsed by regiment of Parliamentarian foot around the house of Sir Richard Wynne, but Rupert ordered in a regiment of Welsh foot to press forward the attack. It is at this point we take up the penultimate encounter in this ECW mini campaign.
Note: I've since discovered from more reading that I have not replicated the Parliamentarian deployment or the scope of the battlefield as well as I could have. The action was fought more over the bridge on the side labelled as New Braynforde on the map below with the Parliamentarian foot falling back to a barricade on the bridge after the first skirmish at Sir Richard Wynne's house, and subsequently falling back to a second barricade across the road through New Brentford (behind their first position).
 |
| Moses Glover's 1635 map of Brentford (source) |
Accounts suggest Prince Rupert commanded about 4,600 men at Brentford – cavalry, dragoons and a Welsh regiment of foot. For Parliament, under the infamous Leveller John Lilburne, were two regiments of Parliamentary foot – one command by Denzil Holles and the other of Lord Brooke – which were barricaded inside Brentford. In order to add to the playability of this scenario, I gave Parliament 3 elements of foot (2 shot, 1 pike) and the Royalists five elements (3 cavalry, 1 dragoon, 1 shot, 1 pike). Lilburne could deploy two elements within Brentford and one over the river. Rupert's force could deploy within 600 paces of his starting edge
Victory conditions / replacements:
Victory is awarded to the first commander who destroys two of their opponent's elements. For the Royalists any losses cannot be replaced at Turnham Green (the final battle of this campaign). All Parliamentarian losses are automatically replaced at Turnham Green reflecting the influx of foot received when the London Trained Bands were mustered.
If the Royalists win at Brentford they can set up the terrain for Turnham Green representing the fact that the parliament forces fell back in some disarry and not buying enough time for Parliament to pick a good position at Turnham. If Parliament win at Brentford then they can set up Turnhams terrain as they see fit as they bought themselves enough time to prepare. Thanks to 'Cromwell' of
Fanaticus for help with fine tuning these victory conditions (and for developing the whole concept of this campaign).
The Battle:
 |
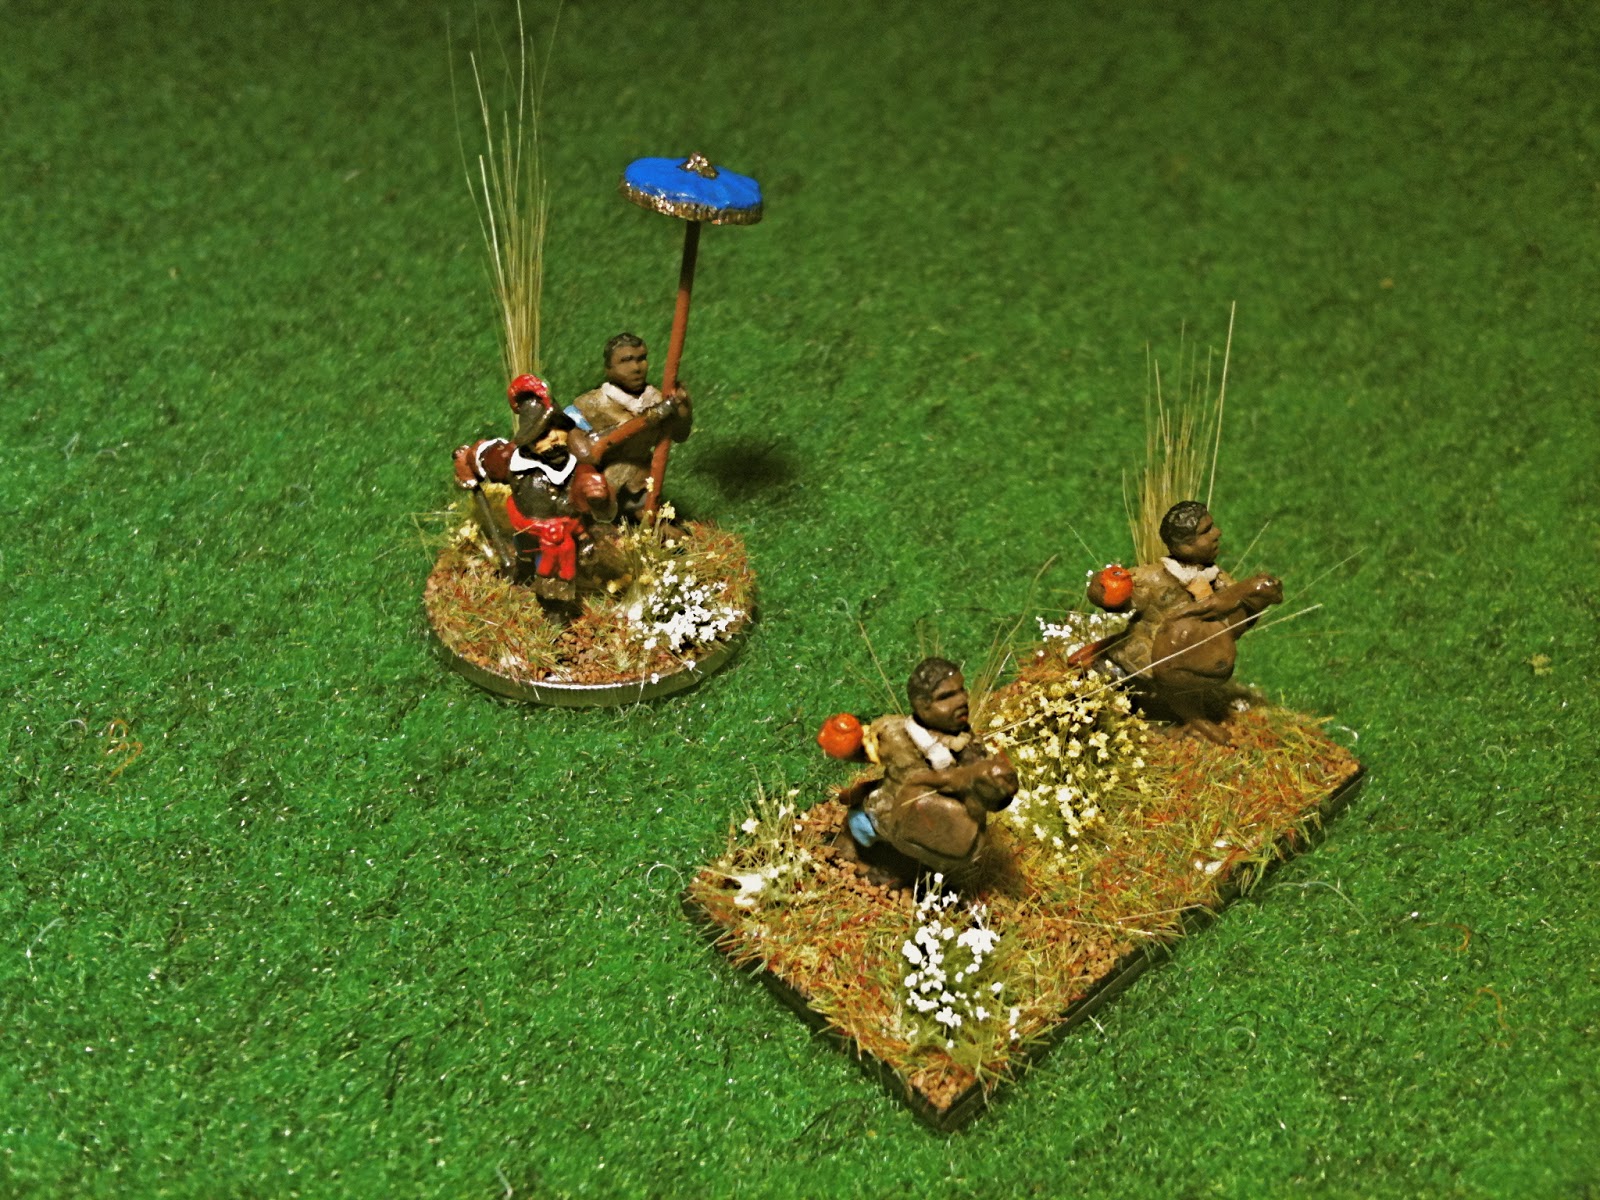
Prince Rupert's force (foreground) deployed on the outskirts of Brentford
|
 |
| Royalist troops (foreground) make their first contact with the parliamentarians defending the village of Brentford |
The small action at Brentford opened with Rupert's Welsh foot pushing forward into Brentford under cover of the morning mist. On Rupert's left his dragoons advanced among the enclosures and opened the battle with a volley of musket balls clattering against the hastily constructed defences across the mains street. Hearing the thunder of musketry, the Parlimentary foot who were holding a defensive position on the bridge, advanced to support Brooke.
Rupert keenly aware that storming Brentford would be costly, ordered half of his cavaliers to sweep right of village to cut off the Parliamentarian line of retreat. Despite the steady advance of the Welshmen into the village, Lord Brooke's foot only gradually back into the town centre. Rupert sought to break the deadlock with a sudden charge of his remaining cavaliers down the main street - hurdling the Parliamentary barricades. Meanwhile, his dragoons flanked the village on the left.
Parliament's foot wheeled to face the cavaliers charging along the river bank on the parliamentary left while Brooke's foot gradually fell back to avoid being taken in the rear by Rupert's dragoons! Brooke rode furiously between his hard pressed centre and flanks as Rupert's trap was sprung. Despite their dogged efforts to give the cavaliers hot stuff on the left, the encirclement finally started to take its toll with Brooke's shot in the centre being overrun and the Dragoons pressing home on his right.
Rupert's victory was complete when his cavaliers encircled the Parliamentarians cutting them down and capturing their commander in the process. Lord Brooke was equally hard pressed with the royalist dragoons pinning them against the river on the other side of the village. The foul breath of the musketry mingled with the misty morning air as as lord Brooke's men fled across the bridge into New Brentford, paving the way for the King's army to advance on London. On to Turnham Green!
The Battle of Brentford was a Royalist victory (0:2) with two Parliamentarian regiments of foot destroyed.