Battle of Elli, 16 December 1912 - Grand Fleets 3rd Ed. AAR
The First Balkan War (October 1912 to May 1913) saw the Balkan League (Bulgaria, Serbia, Greece and Montenegro) go to war against the fading Ottoman Empire. Ultimately, the Balkan League defeated the Ottoman armies capturing almost all of the Empire's remaining European territory.
The Bulgarian attack at Çatalca (near Istanbul) .
On the outbreak of war, the Hellenic Navy moved quickly to secure the island of Lemnos for its strategic importance as an anchorage close to the Dardanelles Straits. The Ottoman navy had not ventured out of the Black Sea (focussing on operations against the Bulgarian Navy), despite its superiority over the Greeks in speed and broadside weight. The broadside weight of a ship is '... a measurement of a vessel's maximum simultaneous firepower which can be delivered upon a single target.' (source)
However, after leaving the Hellenic Navy with two months to consolidate it's hold on the Aegean, on 16 December, 1912, the Ottoman Navy sortied out from the Dardanelles and sparked the largest sea battle of the war.
Ottoman Navy, Cpt Ramiz Bey
2 battleships (Barbaros Hayreddin and Turgut Reis), these were Brandenburg-class battleships purchased from the Imperial German Navy in 1910.
2 old battleships (Mesudiye and Âsâr-ı Tevfik)
1 protected cruiser (Mecidiye)
4 destroyers (Muavenet-i Milliye, Yadigâr-i Millet, Taşoz and Basra)
Hellenic Navy, Rear Adm Pavlos Kountouriotis
1 armoured cruiser (Georgios Averof)
3 coastal defence battleships (Hydra, Spetsai and Psara)
4 destroyers (Aetos, Ierax, Panthir and Leon)
The Battle
The Ottoman fleet sortied from the Dardanelles at 9:30; the smaller craft remained at the mouth of the straits while the battleships sailed north, hugging the coast.
The Royal Hellenic Navy, led by Rear Admiral Pavlos Kountouriotis on board the flagship Averof, defeated the Ottoman Navy, just outside the entrance to the Dardanelles (Hellespont).
During the battle, Kountouriotis, frustrated by the slow speed of the three older Greek battleships Hydra, Spetsai and Psara, hoisted the Flag Signal for the letter Z which stood for "Independent Action", and sailed forward alone at a speed of 20 knots, against the Ottoman fleet.
Taking full advantage in her superior speed, guns and armour, Averof succeeded in crossing the Ottoman fleet's "T" and concentrated her fire against the Ottoman flagship Barbaros Hayreddin, thus forcing the Ottoman fleet to retreat in disorder. The Greek fleet, including the destroyers Aetos, Ierax and Panthir continued to pursue the Ottoman fleet off-and-on between the dates of December 13 and December 26, 1912.
Gaming the Battle of Elli
1. The Fleets
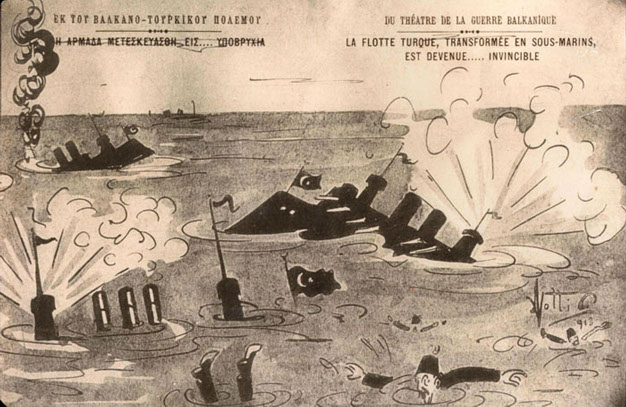
Postcard: Turkish warships before the Battle of Elli on December 5, 1912 upon leaving the Dardanelles
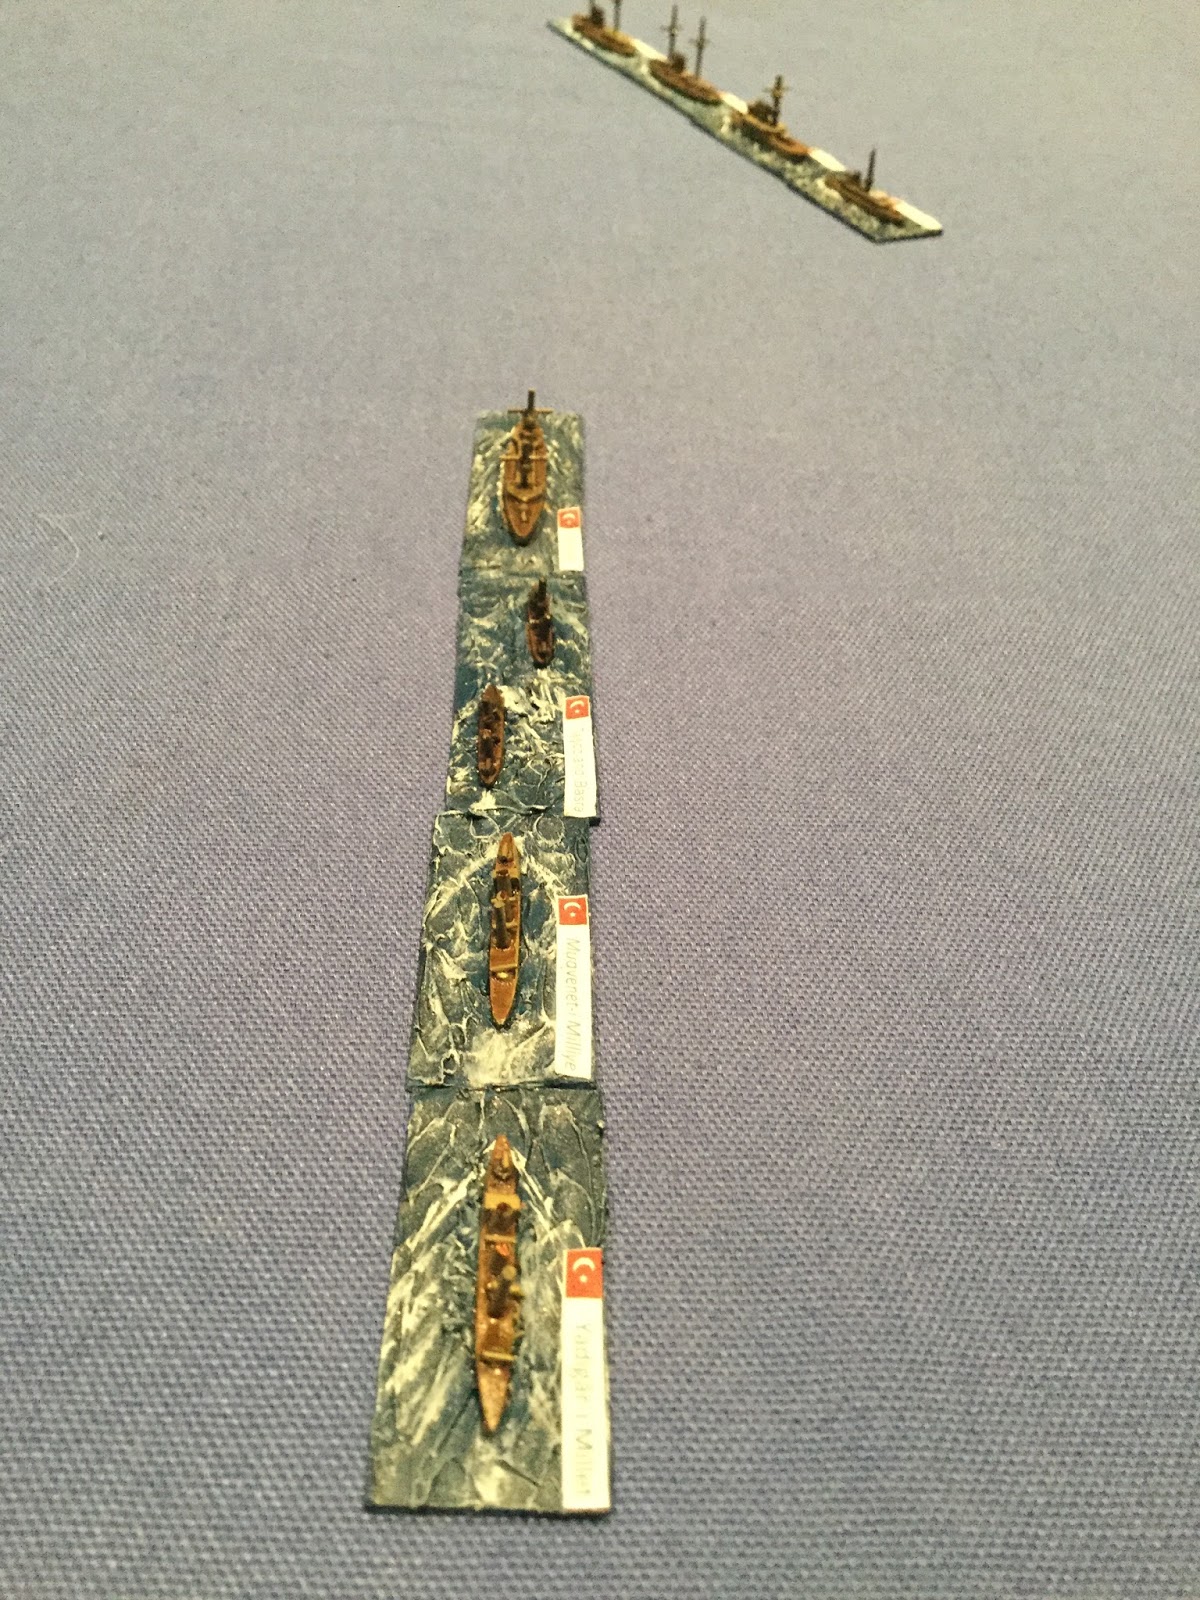
The Ottoman navy battleship division: Barbaros Hayreddin (flagship), Turgut Reis, Mesudiye and Âsâr-ı Tevfik.
The Ottoman destroyer division: The protected cruiser Mecidiye (flagship) and destroyers Muavenet-i Milliye, Yadigâr-i Millet, Taşoz and Basra (multi-ship base).
The Hellenic Navy: The armoured cruiser Georgios Averof (flagship), and coastal defence battleships Hydra,
Spetsai and Psara.
The Hellenic Destroyer Division: Aetos, Ierax, Panthir and Leon (foreground)
2. The Battle
The Ottoman Navy, under Cpt Ramiz Bey, steamed out of the Straits of the Dardanelles at 8am on 16 December 1912. The weather conditions were good and the sea was quiet.
Cpt Ramiz Bey orders the Barbaros Hayreddin and Turgut Reis to open fire on the Greek fleet after steaming out of the Dardanelles Strait. Some keen Ottoman gunnery in this opening round results in two hits on the Averoff.
Rear Adm Pavlos Kountouriotis orders the main battery of the Averoff to return fire on the Turgut Reis scoring a single hit in retaliation.
The Ottoman battleships close in on the Greeks with the 9.2" guns of the Mesudiye also searching for the Averoff.
Ottoman salvoes straddle the Averoff but another hit sees her reach 'damaged' status early in the engagement (giving the Ottomans the first victory points of the game). By this stage two checks for critical damages have been made on the Averoff seeing a loss of attack dice on all batteries and the for'ard torpedo tubes put out of action.
The Ottoman destroyer division (left centre) led by the protected cruiser Mecidiye move in to screen the battleships as the Greek destroyers (top right) start to pose a threat. The flag of the Greek destroyers - the Aetos (centre right) - turns its guns turn on the Mecidiye equally concerned about the possibility of the Ottoman destroyers getting in close to the Averoff and the slow moving Hydra, Spetsai and Psara.
Swinging in front of their battleships, the Ottoman destroyers (top centre) lay smoke giving the battleships time to slip away. The Greek destroyer division (bottom) - Aetos, Ierax, Panthir and Leon - open fire damaging the Mecidiye and Taşoz and Basra (multi-ship base) as they close on the Averoff (top right). Damage rolls result in two critical hits on the Mecidiye disabling her rudder and causing flooding.
The Greek battleship division - Averoff, Hydra and Spetsai - home in on the Mecidiye and under a fierce bombardment she breaks up and sinks. Psara scores a lucky hit on the Barbaros Hayreddin (centre left) as the Ottoman flagship emerges from behind the smoke screen.
In retaliation for the loss of the Mecidiye, all three batteries of the Barbaros Hayreddin (centre left) score hits on the Psara. The ageing ironclad was severely damaged resulting in a loss of firepower and a significant loss of speed.
At this stage of the engagement, the destroyer divisions began to dominate the action. The Hellenic Destroyers (bottom centre) engaged the Âsâr-ı Tevfik scoring multiple hits with their light guns with critical hits resulting in a loss of speed. Meanwhile, the remaining Ottoman destroyers launched torpedo attacks against the Hydra and Spetsai. The Averoff retaliated damaging the Yadigâr-i Millet, Taşoz and Basra.
Both the Ottoman and Hellenic destroyers turn into line abreast hoping to close on the capital ships to launch torpedo attacks. The Greek gunners continue to pound the Âsâr-ı Tevfik (left centre) which begins to fall behind the division. The Mesudiye returns fire with a deadly salvo sinking the Hellenic destroyer Ierax.
The Hellenic cruisers concentrate their fire on the Ottoman destroyers as they home in on the crippled Psara and sink her with torpedoes. The remaining Greek cruisers fire punishing salvos that sink the Muavenet-i Milliye.
As the battered destroyer divisions circle looking for any last kills with their remaining torpedoes (centre), the Ottoman (centre left) and Hellenic (bottom right) capital ships stay clear of the maelstrom for fear of torpedo attack.
Both commanders realise the battle hangs in the balance (both side are approaching their victory point target based on the ships already sunk and the damage to those still afloat) and order their destroyers to make one last effort to sink the capital ships of their enemy.
The remaining Ottoman destroyers steam into close quarters and launch the final torpedoes against the Hydra - which is subsequently sunk.
The Hellenic destroyers 'cross the T' of the Ottoman battleships to launch final torpedo attacks - the Âsâr-ı Tevfik having fallen out of command. The Ottoman battleships retaliate heavily.
In a final blow to the Ottomans, the guns of the Hellenic cruisers (top right) home in on the Barbaros Hayreddin (top left), sinking the Ottoman flagship in a last desperate attempt at victory before they slip away into the safety of the Dardanelles.
The heavy guns of the Ottoman battleships and the Hellenic cruisers pick off the remaining destroyers on each side, resulting in both sides exceeding the victory point tally required for victory.
This refight of the Battle of Elli has depleted both the Hellenic and Ottoman fleets with their relatively new destroyer divisions destroyed and several capital ships lost. Neither Ottoman or Greek can claim outright victory, both having inflicted serious damage on their opponents.
However, for the Ottoman Navy the loss of their flagship, Barbaros Hayreddin - now at the bottom of the Aegean along with the fleet commander Cpt Ramie Bey - will reduce the likelihood of any further sorties into the Aegean.
While the Hellenic Navy's flagship Georgios Averof is damaged, and their modern destroyer division is now but a memory, one can imagine Rear Admiral Pavlos Kountouriotis will be quick to re-assert Hellenic influence in the Aegean.
Very interesting write-up, Alan! Glad to see you got your new ships into action. Couple of questions: what do you use on the ship bases to look like wake and waves? Also, where did you get those salvo and splash mark tokens? So many times the ad-hoc stuff we find to mark up the table take away from the beauty of the models. Not so on your table. That game was what we call a "hairy" situation...what a free-for-all! And what tremendous cahonies that Greek admiral had! To take on four Ottoman battleships with his rag-tag fleet!
Thanks for your comments, Rob. It was a very enjoyable fight that ended up teetering on the balance with both sides approaching the victory point margin for a win. The Ottomans were well ahead and looking like they were going to win the day when the Barbaros Hayreddin went up in a sheet of flame with a magazine hit! This is a great era - (late) ironclads and 'modern' (well, 1910!) battleships and destroyers! ... and yes, the Greek commander needed tremendous canonise and brown pants!
The bases - thanks for noticing! - are made with acrylic sealant which is available in many colours (light grey in this case). I smudge it n the base and form waves with a pice of card. Then place the ship and work up bow waves and a wake with a nail. This is painted with dark grey, then dark blue wash and finally white dry brushing. Its quick and effective, I feel. All the splash markers etc at Litko - love them. The broadside markers are form their age of sail range - splash markers and artillery strike markers are in play as well. They add some nice drama! Thanks for dropping by! Cheers Alan
First of all, let me say I LOVE your markers and effects, it really gives you a true grit feeling. Second, could I ask you if you found diagrams of the different ships in this battle? Im becoming mad trying to get a good one plan of diagram of the older turkish ironclad with the XX century refit.
Thanks, really appreciate your feedback! The Litko markers really add something - I'm no photographer but I feel the shots of the opening salvoes (at long range) give a good feel to it all.
Is it the Âsâr-ı Tevfik you are struggling over? I couldn't find a plan view of the Âsâr-ı Tevfik post refit either. In the end I used this image and tried to allow for the strange angle as best I could. I feel your pain. I can look to see if I still have the adjusted image if that's any help?
Sorry, I miswrite that. Wanted to say "The Messudiyeh was hard to find, but I have one pretty accurate" I will swear I have an account on shipmodels.info, I will try to reactivate it and will ask that guy for a quick scan of the plans. Btw, take a look on my blog, maybe you see something you like ;)
Warfare is a fascinating subject. Despite the dubious morality of using violence to achieve personal or political aims. It remains that conflict has been used to do just that throughout recorded history.
Historically the Ottomans performed abysmally at this battle, with the Greek cruiser Averoff essentially putting their entire fleet to flight after single-handedly rushing in and wrecking Barbaros Hayreddin (the Ottoman flagship). It seems you perhaps might have over-estimated the training level and morale of the Ottoman crews in this game for them to have so significantly over-matched their Greek opponents.
Thanks for dropping by! I've been interested in model soldiers, board gaming, reenacting and miniatures wargaming for over 40 years. This blog is to share occasional gaming reports, my painting and scratch building attempts and to connect with gamers worldwide. I've had a range of interests over the years from ancients to modern and 2mm to 28mm.


Very interesting write-up, Alan! Glad to see you got your new ships into action. Couple of questions: what do you use on the ship bases to look like wake and waves? Also, where did you get those salvo and splash mark tokens? So many times the ad-hoc stuff we find to mark up the table take away from the beauty of the models. Not so on your table. That game was what we call a "hairy" situation...what a free-for-all! And what tremendous cahonies that Greek admiral had! To take on four Ottoman battleships with his rag-tag fleet!
ReplyDeleteArgh, my first reply disappeared into the aether!
DeleteThanks for your comments, Rob. It was a very enjoyable fight that ended up teetering on the balance with both sides approaching the victory point margin for a win. The Ottomans were well ahead and looking like they were going to win the day when the Barbaros Hayreddin went up in a sheet of flame with a magazine hit! This is a great era - (late) ironclads and 'modern' (well, 1910!) battleships and destroyers! ... and yes, the Greek commander needed tremendous canonise and brown pants!
The bases - thanks for noticing! - are made with acrylic sealant which is available in many colours (light grey in this case). I smudge it n the base and form waves with a pice of card. Then place the ship and work up bow waves and a wake with a nail. This is painted with dark grey, then dark blue wash and finally white dry brushing. Its quick and effective, I feel. All the splash markers etc at Litko - love them. The broadside markers are form their age of sail range - splash markers and artillery strike markers are in play as well. They add some nice drama! Thanks for dropping by! Cheers Alan
First of all, let me say I LOVE your markers and effects, it really gives you a true grit feeling.
ReplyDeleteSecond, could I ask you if you found diagrams of the different ships in this battle? Im becoming mad trying to get a good one plan of diagram of the older turkish ironclad with the XX century refit.
Thanks in advance :)
Thanks, really appreciate your feedback! The Litko markers really add something - I'm no photographer but I feel the shots of the opening salvoes (at long range) give a good feel to it all.
ReplyDeleteIs it the Âsâr-ı Tevfik you are struggling over? I couldn't find a plan view of the Âsâr-ı Tevfik post refit either. In the end I used this image and tried to allow for the strange angle as best I could. I feel your pain. I can look to see if I still have the adjusted image if that's any help?
Cheers
Alan
Sorry, forgot the link! http://www.shipmodels.info/mws_forum/viewtopic.php?f=59&t=62363&start=0
ReplyDeleteYeah, the Asar and the Hydra class mostly.
ReplyDeleteThanks a lot, I had the blog of the same turkish modeller, but with worse photos of the scratchbuilt!
Oh, and also the Messudiyeh...
ReplyDeleteI'll post the couple of plans I used for Hydra class and Messudiyeh - see if they are any use. Cheers Alan
ReplyDeleteSorry, I miswrite that. Wanted to say "The Messudiyeh was hard to find, but I have one pretty accurate"
ReplyDeleteI will swear I have an account on shipmodels.info, I will try to reactivate it and will ask that guy for a quick scan of the plans.
Btw, take a look on my blog, maybe you see something you like ;)
Warfare is a fascinating subject. Despite the dubious morality of using violence to achieve personal or political aims. It remains that conflict has been used to do just that throughout recorded history.
ReplyDeleteYour article is very well done, a good read.
Excellent post! Did you have to rate the ships for Grand Fleets, or are they already rated in the rules?
ReplyDeleteHistorically the Ottomans performed abysmally at this battle, with the Greek cruiser Averoff essentially putting their entire fleet to flight after single-handedly rushing in and wrecking Barbaros Hayreddin (the Ottoman flagship). It seems you perhaps might have over-estimated the training level and morale of the Ottoman crews in this game for them to have so significantly over-matched their Greek opponents.
ReplyDelete